


The Great Tiles Guide: Mastering Your Measurements
A flawless tile installation begins with precision. At Great Tiles, we know that the of a project is most vibrant when the planning is seamless. Measuring your space correctly ensures you have exactly what you need to bring your vision to life without mid-project delays.
The Precision Rule: Use Millimetres (mm)
In the world of professional tiling, millimetres are the gold standard. Using mm provides the most accurate calculation and aligns perfectly with our tile specifications, Metric measurements eliminate the guesswork found in inches or fractions, ensuring your grout lines and patterns align perfectly.
Step 1: The Main Floor Area
- Measure the length (L) and width (W) in mm.
-
Multiply L X W to get the area in square millimetres.
-
Divide by 1,000,000 to convert to square metres (m²).
Step 2: Measuring Around Windows & Recesses
-
The Reveal: Measure the depth and width of the window "return" (the part that goes into the wall).
-
The Subtraction: Measure the glass area only if you are tiling the entire wall. Subtract this from your total wall m².
- The Surround: Treat each part of the window frame as a small rectangle. It is better to over-measure these intricate areas as they require the most complex cuts.
Step 3: The 10% Essential Buffer
Always add at least 10% extra to your final total. This isn't just a suggestion; it’s a project necessity. This buffer covers:
-
Cuts & Wastage: Especially important for large formats or herringbone patterns.
-
Future Repairs: Batch shades change over time; having a spare box from your original order is invaluable.
-
The Math: Total m² X 1.1 = Your Order Quantity.
The Pattern Waste Guide
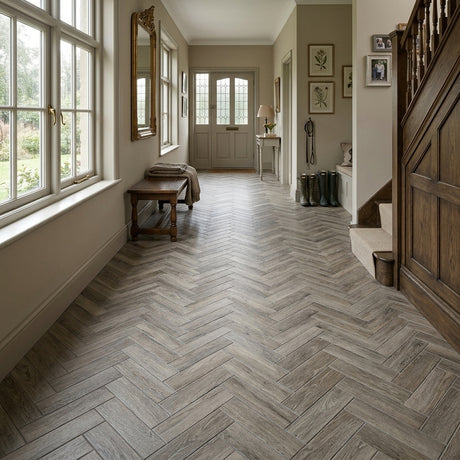
Layout Style Recommended Wastage Why? Standard Grid 10% The most efficient layout. Ideal for large format tiles such as 80x80cm, 90x90cm, 60x120cm. Brick Bond (50/50) 12% Requires more end-of-row cuts to maintain the staggered joint. Herringbone 15% High precision required; involves many 45° cuts at every perimeter. Plank / Random Bond 10 -12% Great for wood effect tiles; waste depends on how you stagger the joints. Small Format / Mosaic 15% Smaller tiles often lead to more fiddly cuts around sockets and corners.
How to Calculate Your Order
To find your final order amount, simply take your total measured area ($m^2$) and multiply it by the "Waste Multiplier."
-
For 10%: Total m² X 1.10
-
For 12%: Total m² X 1.12
-
For 15%: Total m² X 1.15
Great Tiles Tip: If you are working with a particularly large space or a room with lots of alcoves and "in-and-out" corners, we always recommend leaning toward the higher side (15%). It is far better to have half a box left over for future repairs than to be one tile short and have to worry about matching a different batch later on. Passionate planning prevents project pauses!
-