




How to Choose Tiles for a Small Bathroom: A UK Guide to Big Style
Let’s address the elephant in the room: if you’ve spent any time on Pinterest or Instagram recently, you’ve probably seen architectural bathrooms the size of a standard London studio apartment. High ceilings, freestanding baths, and floor-to-ceiling marble.
Then you open the door to your own UK bathroom or en-suite, take a look at the footprint, and wonder how on earth to translate that luxury look into a realistic British home.
Here is the secret: UK bathrooms are not as small as you think, and you do not need a grand estate to build a stunning, boutique space. With a few clever styling choices, the right tile format, and a touch of layout magic, even the cosy Victorian terrace family bathroom or compact new-build en-suite can feel spacious, light, and beautifully considered.
Here is our ultimate guide to choosing tiles for compact spaces—giving you the confidence to turn your room into a design highlight.
Myth Busted: Can You Use Large Format Tiles in a Small Bathroom?
Yes, absolutely. In fact, it is one of our favourite design tricks at Great Tiles.
There is a long-standing myth that small rooms must have small tiles. The truth? A small tile pattern creates a higher density of grout lines. When you have dozens of grout joints breaking up a small floor or wall, it creates visual friction, this can make the space feel busy or fragmented.
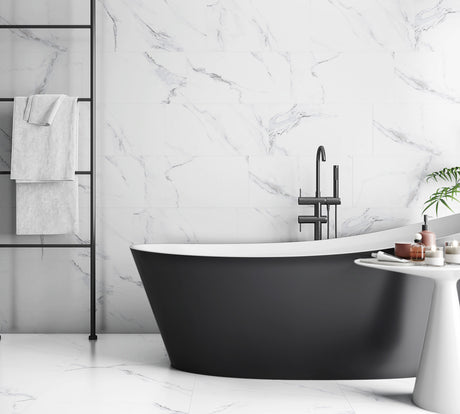
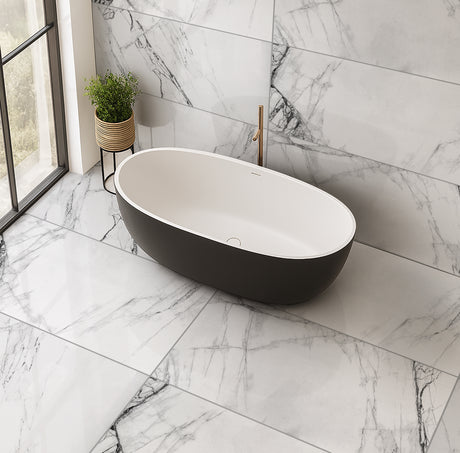
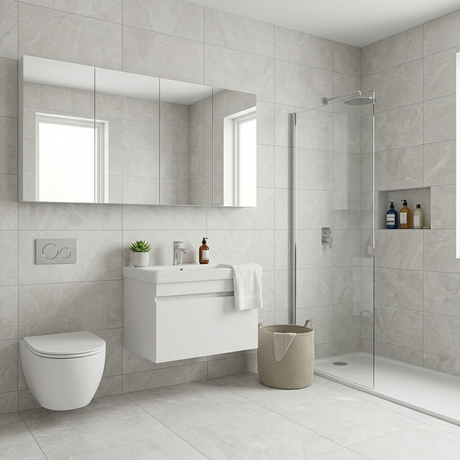
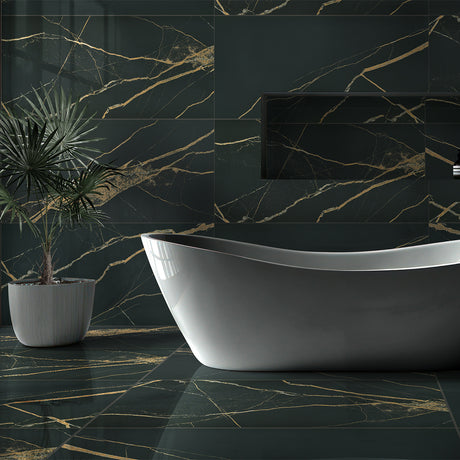
By opting for large format porcelain tiles (such as a 60x60cm or an elongated 30x60cm or 60x120cm), you dramatically reduce the number of grout lines. Fewer lines mean a smoother, uninterrupted visual flow across the floor and walls, instantly giving the illusion of a larger, more expansive room.
Great Tiles Tip: To maximize this seamless effect, pair your large format porcelain tiles with a matching light grey or complementary grout. Matching the grout colour closely to your tile shade makes the grid lines vanish, leaving you with a sleek, continuous surface.

(Picture: Blakeley Grey Satin Stone Effect Porcelain 60x120cm)
When Small Tiles Win: Adding Texture and Character
While large tiles create sleek breadth, small tiles bring undeniable character, soul, and tactile interest. You do not have to choose strictly between one or the other—you can comfortably mix both.
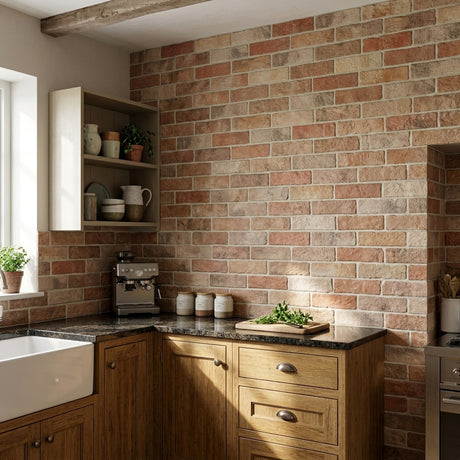
Small tiles—like tactile sugar glaze ceramics, classic brick formats, or delicate mosaics—excel in specific zones:
-
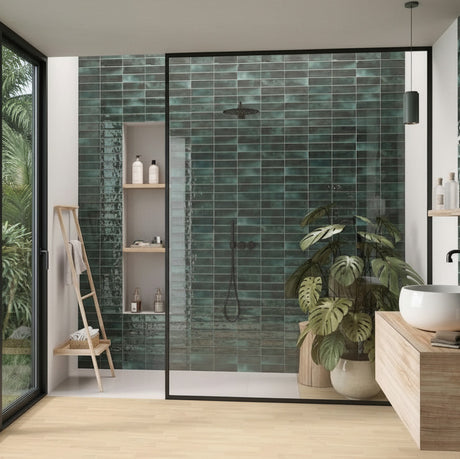
Feature Shower Walls: Framing a walk-in shower with a textured, glaze-finished wall tile creates depth and draws the eye inward, making the ceiling feel higher.
-
Recessed Niches: Tiling an in-shower storage niche with a smaller, textured tile turns a functional cut-out into a focal point.
-
Zoning: Use smaller tiles on the wall behind your vanity to anchor the space, while keeping the main floor and remaining walls light and unified with larger tiles.

(Picture: Forma Esmeralda Ceramic 6.5x20cm and Santiago Grey Stone Effect Porcelain 30x60cm)
Layout Tricks: How Tile Direction Changes the Room
How you lay your tiles is just as important as the tile you choose. You can visually alter the architecture of your bathroom simply by changing the direction of the pattern.
1. The Landscape Lay (Horizontal)
Laying rectangular tiles horizontally in a landscape format draws the eye side-to-side. This trick physically "stretches" the width of narrow walls, making tight shower enclosures or narrow rooms feel wider than they are.
2. Vertical Stacking for Low Ceilings
If your bathroom has a low ceiling (common in loft conversions or character cottages), lay your rectangular tiles vertically. Stacking them straight up guides the eye toward the ceiling, creating an instant sense of height.
3. Continuous Wall-to-Floor Tiling
Running the exact same tile from the floor right up the main wall creates a seamless envelope. Because your eyes cannot easily perceive where the floor ends and the wall begins, the boundaries of the room blur, creating a sense of openness.
Glaze, Light, and Reflection
Lighting is often a challenge in British bathrooms, where small windows or interior en-suite layouts are common. Your tile finish plays a massive role in how light bounces around the room.
-
Gloss & Sugar Glaze Finishes: Glossy and textured glaze finishes act as subtle reflectors. They catch both natural light and warm ambient spotlighting, bouncing light across the space and adding an ethereal, spa-like feel.
-
Neutral & Stone-Tone Palettes: Light bone, warm ivory, soft grey, and warm natural timber tones keep the aesthetic airy without feeling clinical.
Don't be afraid to add warmth! A bone or warm-grey stone effect porcelain brings organic texture that keeps compact bathrooms feeling cosy and inviting rather than cold.
3 Quick Steps to Confident Tiling
-
Measure Your Layout First: Calculate your wall and floor runs in millimetres. If a large tile leaves tiny 2cm offcuts at the edges, try adjusting the layout or choosing a versatile 30x60cm format that sits comfortably across the space.
-
Order Physical Samples: Lighting changes everything. Place tile samples in your actual bathroom under both natural daylight and your evening artificial lights to see how the texture and colour react.
-
Focus on the Details: Don't forget trims and grout colours! A sleek brushed metal tile trim and light grey grout elevate a simple installation into a high-end, designer finish.
Ready to Transform Your Bathroom?
Your UK bathroom has endless potential. Whether you choose large, continuous porcelain slabs to open up the floor or a subtle, textured glaze for a warm feature wall, you have all the tools to design a space that feels bright, elevated, and uniquely yours.
Explore our curated collections at Great Tiles today and order tile samples directly to your doorstep to start your transformation.